This page is the first-event walkthrough. For QR placement details, see QR code song requests setup.
How to Use DJ Request
A first-event walkthrough: from sign-in to the post-event summary, using the real dashboard tabs.
This guide follows the order a new DJ actually takes. Steps that depend on your plan say so, and the pricing rules at the end explain who pays for a request and when.
Before the event: a ten-minute checklist
- Sign in and confirm your DJ display name in Settings.
- Decide free or paid requests for this event, and connect Stripe if you will charge.
- Print the QR poster or load it on a tablet.
- Scan your own code and send a test request from your phone.
- Approve the test request in the Requests tab and check the status updates on your phone.
- If you run a Photo Wall, open the wall URL on the venue screen and approve a test photo.
Sign in and create your DJ account
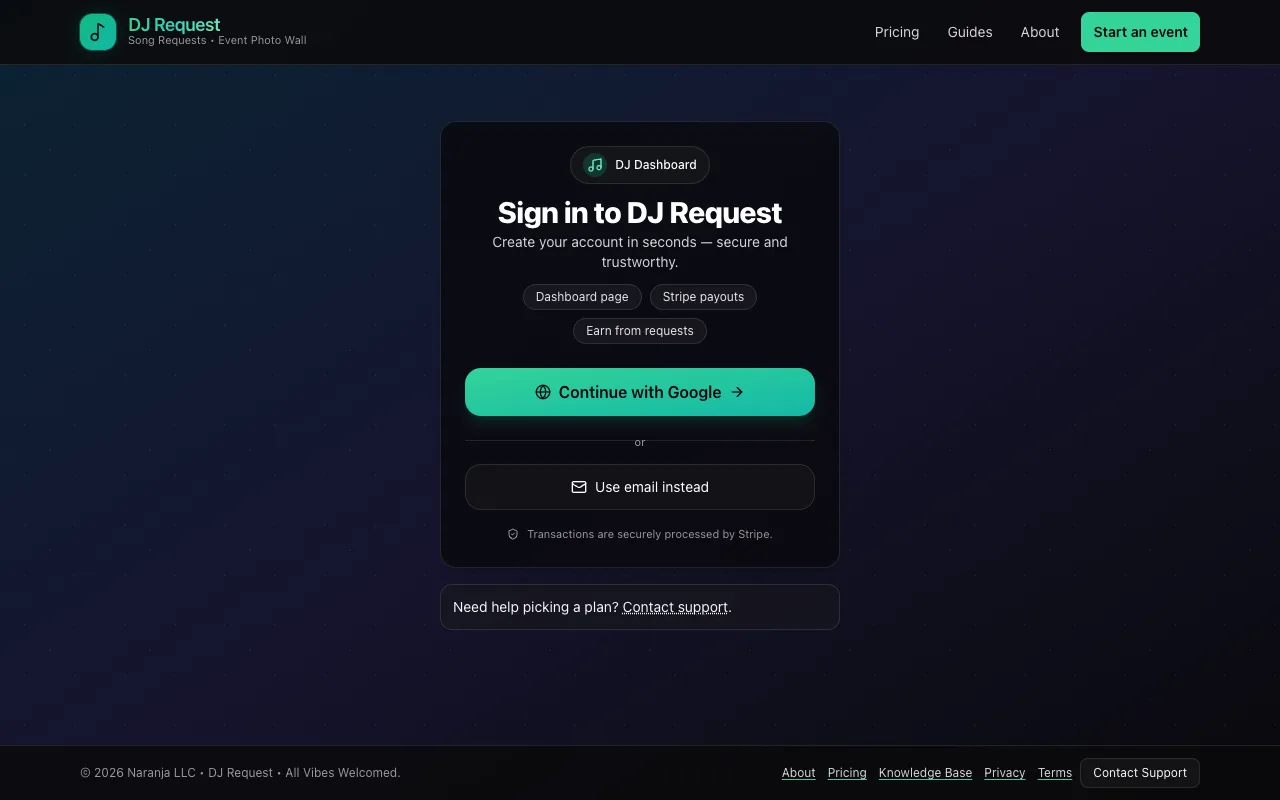
Open djrequest.net and choose Start an event, or go straight to the sign-in page. You can continue with Google or use an email address.
Your account is created on first sign-in. There is no subscription charge on the Standard plan and no card is required.
New accounts start a 30-day trial: the Photo Wall and AI suggestions are unlocked, and every guest request is free while the trial lasts.
Set up your event in the Settings tab
The dashboard has four tabs: Requests, Sessions Analysis, Plan Management, and Settings. Open Settings first.
Enter the DJ display name guests will see on the request page and the Photo Wall, and an optional Linktree or website link.
Turn Requests on. If your plan allows it, set the price per request here as well (see the pricing rules below).
If you have a paid plan or an active trial, turn the Photo Wall on and decide whether photos should be auto-approved or wait for your approval.
Connect Stripe (only needed for paid requests)
Paid requests are processed through a Stripe account connected to DJ Request. Start the connection from the dashboard and complete Stripe's onboarding: identity, business details, and a bank account for payouts.
Until Stripe reports that payouts are ready, Standard accounts cannot switch Requests on after the trial, and the price field stays locked.
Once payouts are ready you can set a request price of $1 or more. On Pro Pass and Max Pass you can also set $0 to keep requests free.
Print or display your QR poster
Open the QR poster from the dashboard. The poster editor lets you change the headline and helper text, background, text, and accent colours, the QR size, and add a PNG logo.
Download the poster as a PNG and print it, or open it on a tablet at the booth. The QR code always points to your event's join link, so you can reuse the poster for every event.
Place codes where guests already gather: the bar, table cards, the booth front, and next to the Photo Wall screen if you run one.
What guests see when they scan
The request page opens in the phone's browser. Guests search by song or artist (results come from the iTunes Search API) or paste a Spotify or Apple Music link.
They can add a note of up to 500 characters, then submit. If the event has a price, Stripe Checkout collects payment and offers an optional boost; the card is authorized, not charged.
After submitting, guests see a status banner that updates when you accept or decline, and a separate message box for shout-outs that do not need a song.
Work the Requests tab during the event
Each request arrives as a card with the song, artist, artwork, guest note, and payment status. Boosted requests sort to the top and are marked VIP.
Tap Approve to accept. For a paid request, this captures the authorized payment. Tap Reject to decline; you can include a short message, and a paid request is released so the guest is not charged.
On a paid plan, an accepted card offers AI Suggest, which returns one next-song idea based on that request and the last few songs you accepted.
Turn on browser notifications from the dashboard so a new request reaches your phone while you are mixing.
Review the event in Sessions Analysis
After the night, the Sessions Analysis tab shows request count, accepted count, acceptance rate, paid totals with a fee estimate, and approved photo count for each event.
Export a PDF summary for the client or planner. On a paid plan you can also create a shared album of approved photos with an access code and a ZIP download.
Use the numbers to adjust next time: a low acceptance rate usually means the price or the QR placement needs a change, not the crowd.
Who pays for a request, and when
These rules are enforced by the dashboard, so it is worth knowing them before you promise a client free requests or plan on paid ones.
Who pays, and what it costs
- The Standard subscription is free. On Standard, guest song requests are paid (minimum $1). On Pro Pass and Max Pass, you can set requests to free or paid per event.
- During the 30-day trial for new accounts, every guest request is free. After the trial, Standard needs Stripe payouts to be ready before requests can be switched on. Pro Pass and Max Pass can use a $0 request price; paid requests always need Stripe payouts to be ready.
- Guest payments are authorized when the request is submitted and captured only when the DJ accepts. Declining releases the hold.
- DJ Request charges a 15% app fee on the accepted base request amount. Tips and boosts have no DJ Request app fee. Stripe processing fees and payout timing are separate.
- Guests can add an optional boost of $2, $5, $10, $20 at checkout to move their request up the DJ's queue. Boosts are optional and never required to submit.
Current plan details are always on the pricing page.
Common questions about using DJ Request
- How long does DJ Request setup take?
- Signing in and printing the QR poster takes a few minutes. Connecting Stripe for paid requests takes about ten minutes the first time because Stripe verifies your identity and bank details. After that, each event is a matter of checking the Settings tab and sharing the code.
- Do I need special equipment?
- No. The dashboard runs in a browser on your phone, tablet, or laptop. Guests use their own phones. A Photo Wall needs any screen with a browser and Wi-Fi.
- Do guests need to download an app to submit requests?
- No. Guests scan a QR code and submit requests directly in their browser on iPhone or Android.
- What if a guest does not have a smartphone?
- Take the request verbally and keep playing; DJ Request does not add requests on the DJ's behalf. The QR page is one intake channel, not a requirement for every guest.
- Can I test DJ Request before a real event?
- Yes. During the 30-day trial every request is free, so you can scan your own QR code, submit a test request from your phone, and approve it in the dashboard before you ever use it live.